Warehouse Offices
Warehouse office solutions
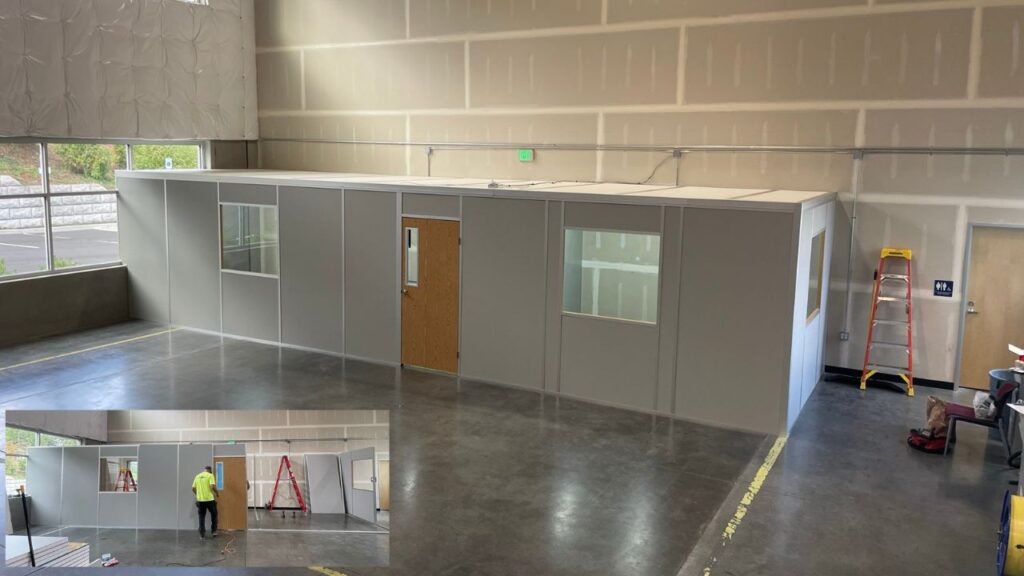
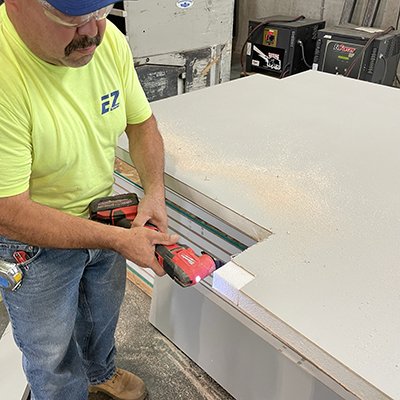
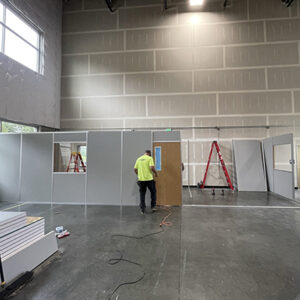
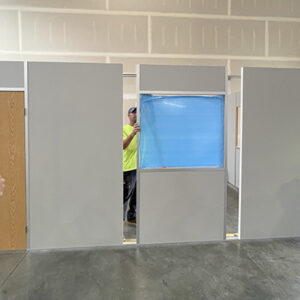
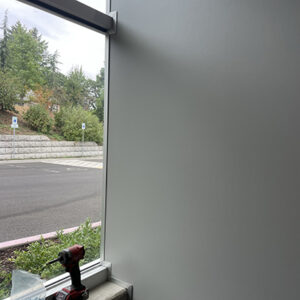
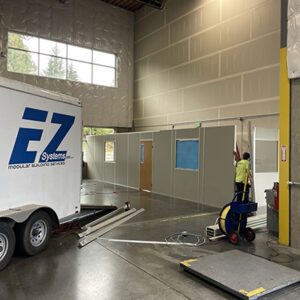
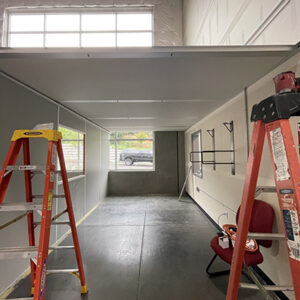
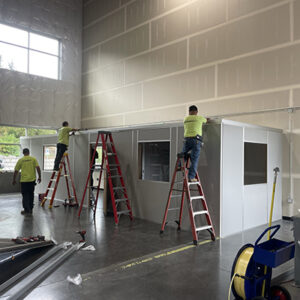
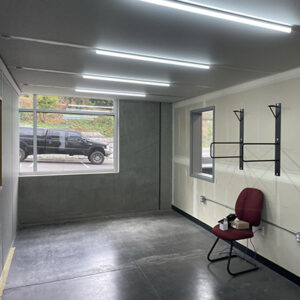
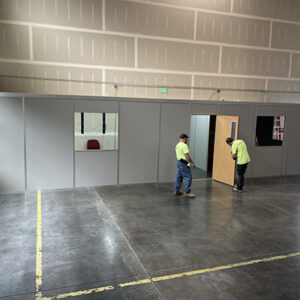
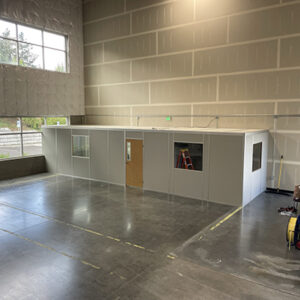
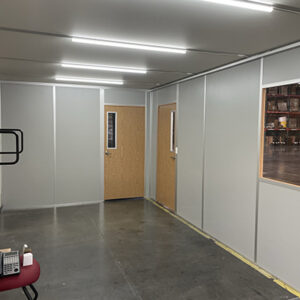
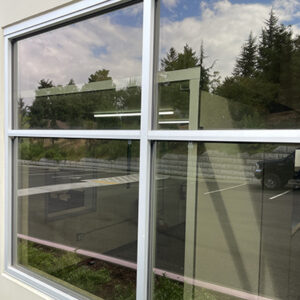
You’ve moved into a new warehouse. So new that there’s nothing in it, other than two restrooms at the far end of the warehouse. You need office space, but you don’t have a lot in the budget, and you have even less time. What do you do? Hire a handy man to build a stick-built office for tens of thousands of dollars? That’s not in the budget and takes too long. Interior modular walls are a fantastic, cost-effective solution that can be installed quickly and without exorbitant costs. The office you see in the photo below was a two-day installation, in part, due to the intricate cuts that were needed around the windows. With spans of up to fourteen feet without a supporting wall underneath, our warehouse offices can be installed against existing walls in your structure or free standing in the middle of your open space.
Why Warehouse Offices?
-
Cost effective
Our base model wall panels with vinyl-covered Lauan surfaces are our most popular option. Up-front costs per linear foot costs are less expensive than stick built options. The real savings comes at installation. Depending on the materials used, stick built options can run as high as four times as much as modular wall options for installation.
-
Easy Installation
One of the cornerstones of our design is the ease with which our walls can be installed. Of course there are some challenging configurations that can take extra time, but the majority of our warehouse offices can be installed in a single day. More complicated designs will naturally take longer, but the overall design is be able to get in and out as quickly as possible so you can move forward with your project.
-
Durability
Our modular wall system is engineered, ensuring it will meet any municipal, county, or state durability requirements. Additionally, multiple surface options provide several levels of durability. Our base model Lauan is plenty durable for day-to-day use in an office environment. Increasing levels of durability come with more substantial materials; tackboard, sheetrock, and our newest, most durable product, FRP / OSB wall panels. All of our aluminum used in our modular wall system is 6063 T5 providing strength with an anodized finish that is easy to clean. The aluminum creates an exoskeleton that provides additional structural strength to the modular wall system. Additionally, our data track product can not only provide integrated electrical / data / light switch portals in the walls, but it also doubles excellently as the framework for the ceiling, providing up to fourteen feet of span.
-
Easy repairs/replacement
Because our wall system is modular, removing a damaged wall panel or structural aluminum component is relatively easy. Sometimes it may get a little more involved than just removing some screws and sliding panels & aluminum out of the way, but in many cases, replacing a damaged component can be complete within a couple of hours.
How it works
Step 1
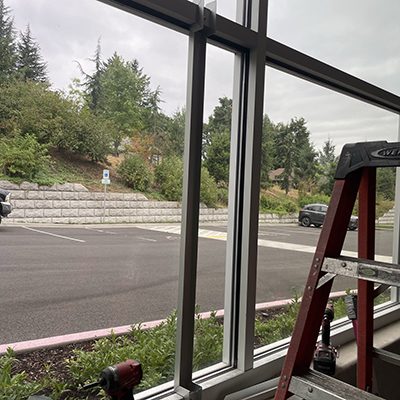
Our crew will arrive on site and meet with you to go over the placement of the office(s) and confirm the scope of the project. Once we have a firm understanding of the scope of the project, we’ll get to work laying out the floor plan. During this process, one person will start unloading the mod wall components and setting them out according to where they are needed in the installation process.
Step 2
The crew will start taking measurements for the bottom track, cutting them to length and with any special angles as necessary. They’ll dry fit each piece prior to securing it in place, making sure the layout is correct, and more importantly, square. Once they’re confident they have everything correct, they’ll start drilling / installing anchors into the floor to hold the wall panels in place.
Step 3
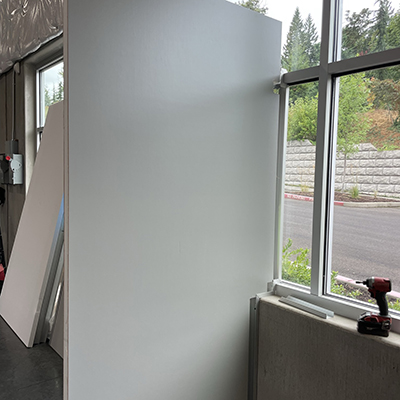
Installing the wall panels will commence at this point. If the office(s) is using an exterior wall as part of the structure, an installer will secure a wall start to the exterior wall to provide a strong starting point for the office. If there isn’t an exterior wall coming into play, two wall panels at one of the corners will be installed and plumbed & leveled. This will act as the starting point for installing the rest of the wall panels.
Step 4
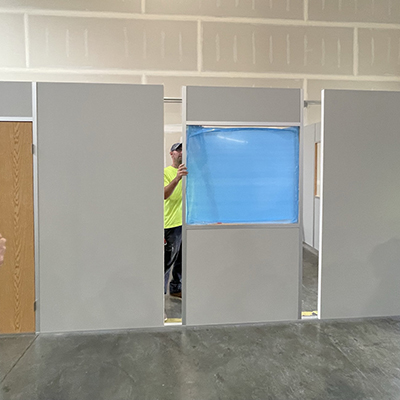
The complete framework of the office, including all of the aluminum structural components and panels, will be installed. Window panels and door panels will be installed at this time as well, too. Panels are secured to H tracks, pieces of aluminum that act like a stud in a stick-built wall, that are placed up to every four feet in the length of each wall. Data track for light switches and outlets will be installed at this time, too. Big 3” x 3” corner pieces are installed at the corners to provide a clean look to the corners, hiding the interior framework.
Step 5
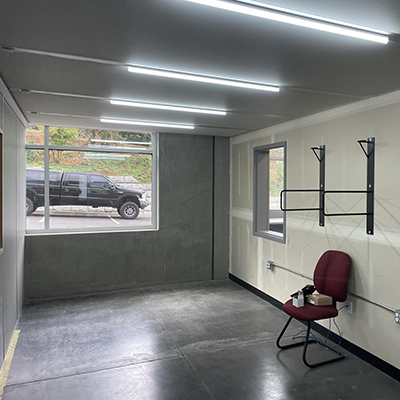
During the course of the wall installation, another member of the team will start installing ceiling components, which will provide structural rigidity to the offices and help keep everything square, plumb, and level. These members are generally made from our data track, our most structurally sound aluminum component. These can span up to fourteen feet without any supplemental strengthening. If everything comes together correctly, the last of the ceiling panels should be installed shortly after the last of the wall panels. At this point, we’ll go through and make sure all screws are installed correctly and tightened. Interior lights can be installed. All electrical work will need to be completed by a licensed, bonded electrician.
Our process
-
1. The Site Check
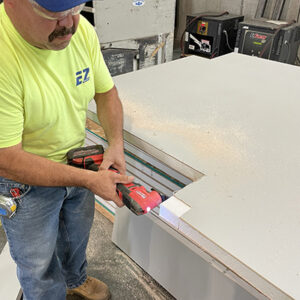
Generally, we’ll want to do a site check to make sure we completely understand what you have in mind for the finished product. During our site check, we’ll ask a lot of questions, take measurements and photos, determine best way to enter into the facility, power needs, height restrictions, if there are any, among other things. Sometimes, site checks aren’t possible due to distance, timing, or other reasons. In these cases, we’ll be asking quite a few questions, asking for pictures, diagrams, and detailed descriptions of the project and project site.
-
2. The Estimate
Once we have all of the information we need, we’ll take it back to our shop and go over the details of the project with our shop manager and the various production staff for their input. Once we are satisfied that we have everything we need to create an accurate estimate, our estimating team will put all the parts together and come up with a comprehensive estimate, including production time, shipping costs and estimated timeline, and installation costs and timeline.
-
3. Scheduling & Installation
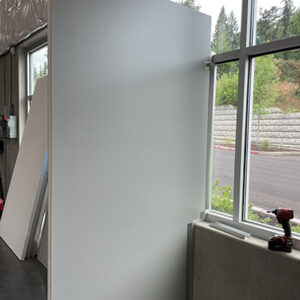
Once we have a timeline for completion of the components, we can contact you to schedule the installation. Once the installation is scheduled, we’ll assign a team to deliver and install the office(s). Our team will confirm placement, orientation of doors & windows, mechanical connections to the floor, walls, and ceiling, if any, and placement of light switches, electrical and data outlets in the structure. Once installed, the team will perform a review with you for approval, do thorough cleaning of the workspace, and depart for home.
-
4. The Follow-up
Once complete, we will email, or snail mail an invoice to you for the cost of the project. Within two weeks, we’ll reach out to you to make sure the finished product meets your needs and expectations. Any adjustments can be made at this time.
Note: Any permitting and inspections are the responsibility of the owner. Engineered drawings are available upon request. The fire marshal may require a fire suppression system be installed before occupancy is granted. This will also need to be taken care of by the owner.
